Pine wood doors are inherently beautiful. The natural grain, the texture, and the warmth all bring us a little bit closer to nature. Pine is a sturdy, structural wood with a beautiful, light color. Doors can be straight grain or feature knots, allowing you to choose between a simple, straight-grain pattern or one that swirls and is more complex.
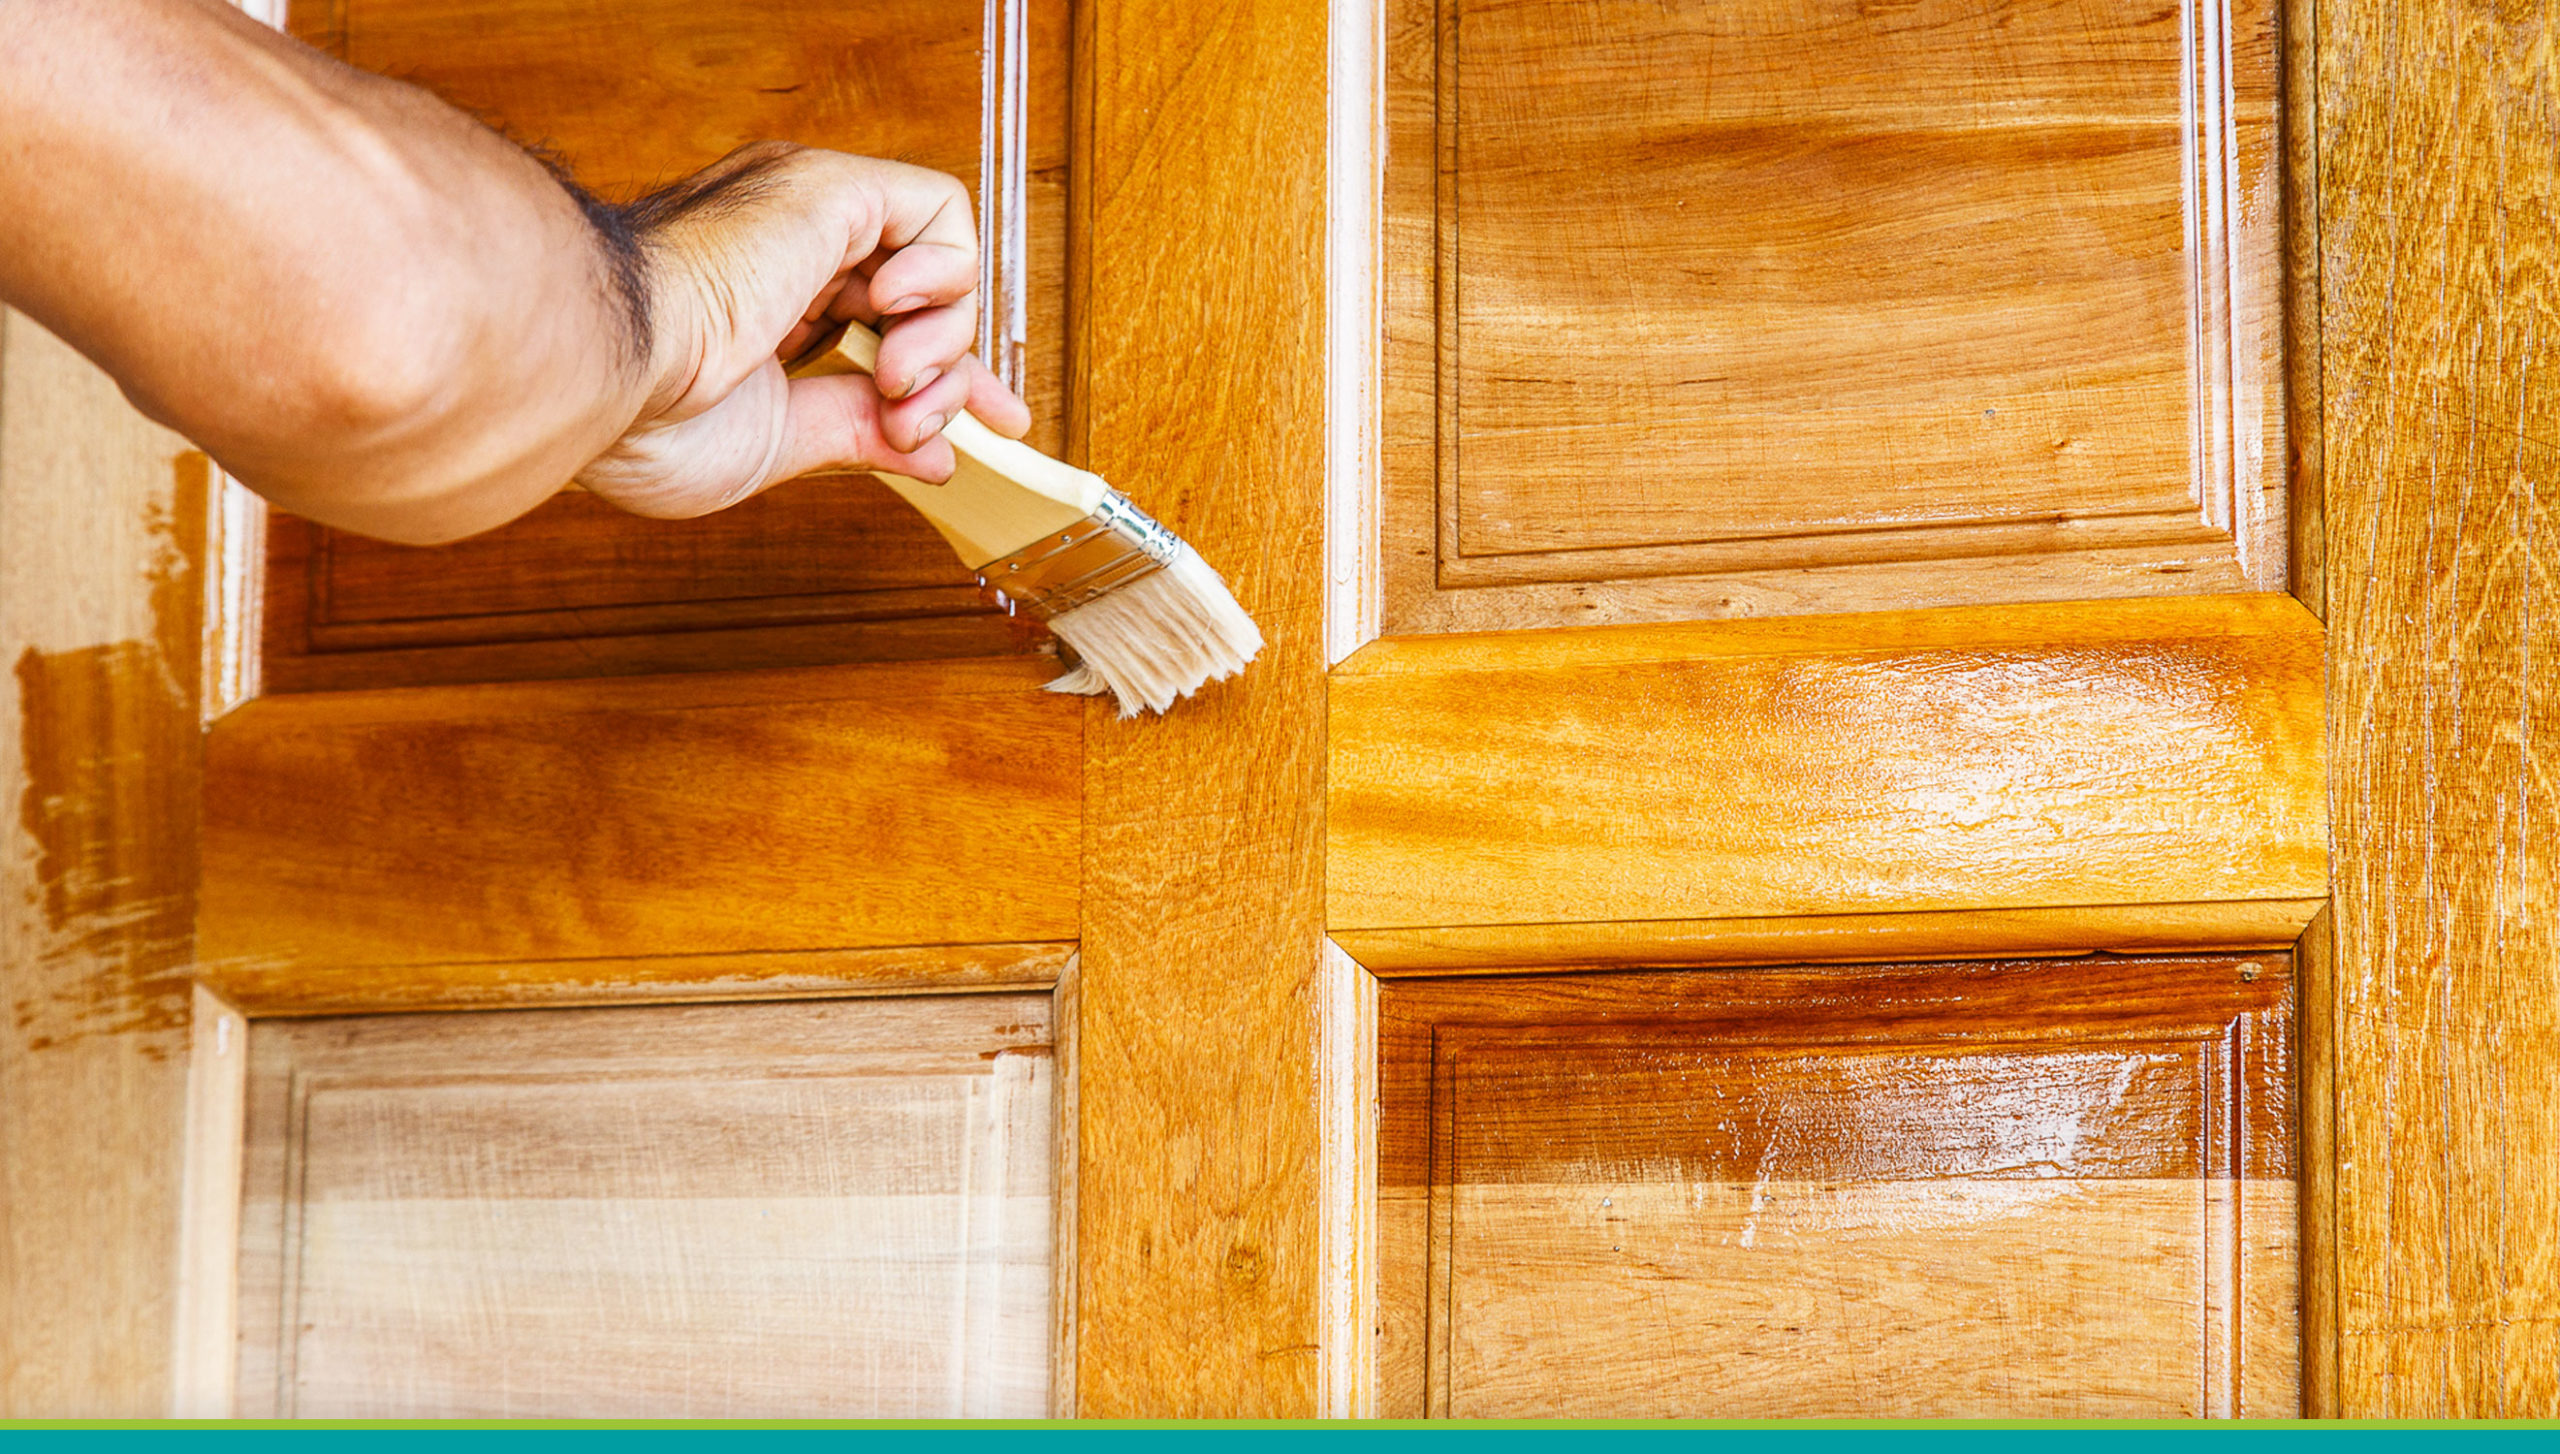
Though they are also appealing in their natural beauty, adding a stain or varnish can both preserve the door’s beauty while highlighting it’s attractive features. You can create highly customized colors that compliments your home’s existing decor. This simple DIY tutorial will guide you through the process of staining or varnishing your pine wood door.
Stain or Varnish?
The first step is deciding which route you want to go. A varnish is usually transparent, hardening along only the outer layer of your pinewood door. A stain deeply penetrates the wood, sending the new color deep into the door. A varnish preserves the natural color of the wood, whereas a stain can alter the color.
Materials
- Two sawhorses
- Plastic drop cloth to protect your floor
- Sand paper (100 grit and 180 grit)
- Sanding block
- Stain or varnish
- Paintbrush
- Rags
- Spray gun
- Lacquer
Prep
Whether you decide to stain or varnish, the prep will be the same.
Lay down a protective barrier under your workstation. A plastic painter’s tarp should do. Lay the door flat across two sawhorses to prepare for sanding. A sander isn’t necessary, you should be able to lightly sand the doors by hand using a #220 or higher grit sandpaper. The goal isn’t to remove a lot of material, but to smooth any rough spots. Use a sanding block to prevent hand fatigue. Once you have finished sanding both sides of the door, use a clean cloth to remove any sawdust from the door’s surface. Avoid using an air compressor to blow off dust of the door as moisture in the air will cause water spotting.
Stain
To apply a stain, first thoroughly stir the can to ensure an even blend. Dip your paintbrush into the stain and apply an even layer across a small section of the door. Immediately wipe the excess stain with a clear cloth. Work in small sections to prevent the excess stain from sitting for too long. Once you have completed one side of the door, wait for 30 minutes before doing the other side. Don’t forget the edges!
Dry and Sand
After applying the first coat of stain to both sides (and all edges) of the door, the door will need to be lightly sanded and stained again for maximum absorption. Allow the stain to dry for 24 hours before moving onto the next step.
Spray with Lacquer
After filling a spray gun with lacquer, hold the gun 8” from the door at a 30 degree angle. Spray the door lengthwise, overlapping each pass by 1”. Spray the door with lacquer until it is completely wet. The door should dry within 15- 30 minutes. Spray the sides, top and bottom to completely seal the door. After 30 minutes, flip the door and spray the other side of the pine wood door.
Seal
Spray the sides, top and bottom to seal the door completely. The door will remain flat across the sawhorses until you are completely finished. Hold the gun horizontal, 8 inches from the side of the door. Spray an even coat down both sides, the top and bottom. Wait 30 minutes for the lacquer to dry. Flip the door over and spray the other side the same way. It is important to be thourough, as the lacquer will prevent moisture from entering your door.
Sand and Second Coat
Once the lacquer is dry, use 180 grit sandpaper to sand the door by hand. This time, you won’t need to wipe the sawdust off as it actually helps cure the subsequent coats of lacquer.
Spray another coat of lacquer on the door using the same techniques as you did to apply the first coat. Wait an hour before flipping the door. Test for dryness by lightly touching the surface of the door with your finger. If you can leave a fingerprint, wait another 30 minutes.
Once the second coat is completely dry, sand the door one final time.
You only need to apply two coats of lacquer, but if you prefer a deeper gloss you may want to spray up to four coats. Just make sure you wait at least an hour between any additional coats, as the more coats you add, the longer they take to dry.
Varnish
To apply a varnish, you will need a clean paintbrush. Evenly spread the varnish across the entire surface of the pine wood door, making sure your coat is very even. Use a rag to wipe down the door in order to remove extra varnish. Allow it to dry for 24 hours before flipping to varnish the other side of the door.
Varnish takes considerably longer to dry than stain does. Once your door is dry, lightly stand the door. Wipe off the sawdust and apply the second layer of varnish or stain. The varnish will require 48 hours to cure.
Inspect the door for areas that don’t look shiny- that means they did not absorb enough finish. Knots are likely problem areas. Apply another thin layer to the ENTIRE surface. Spot treating will leave you with an uneven surface.
Allow the final coat to dry for 48 hours before installing.


