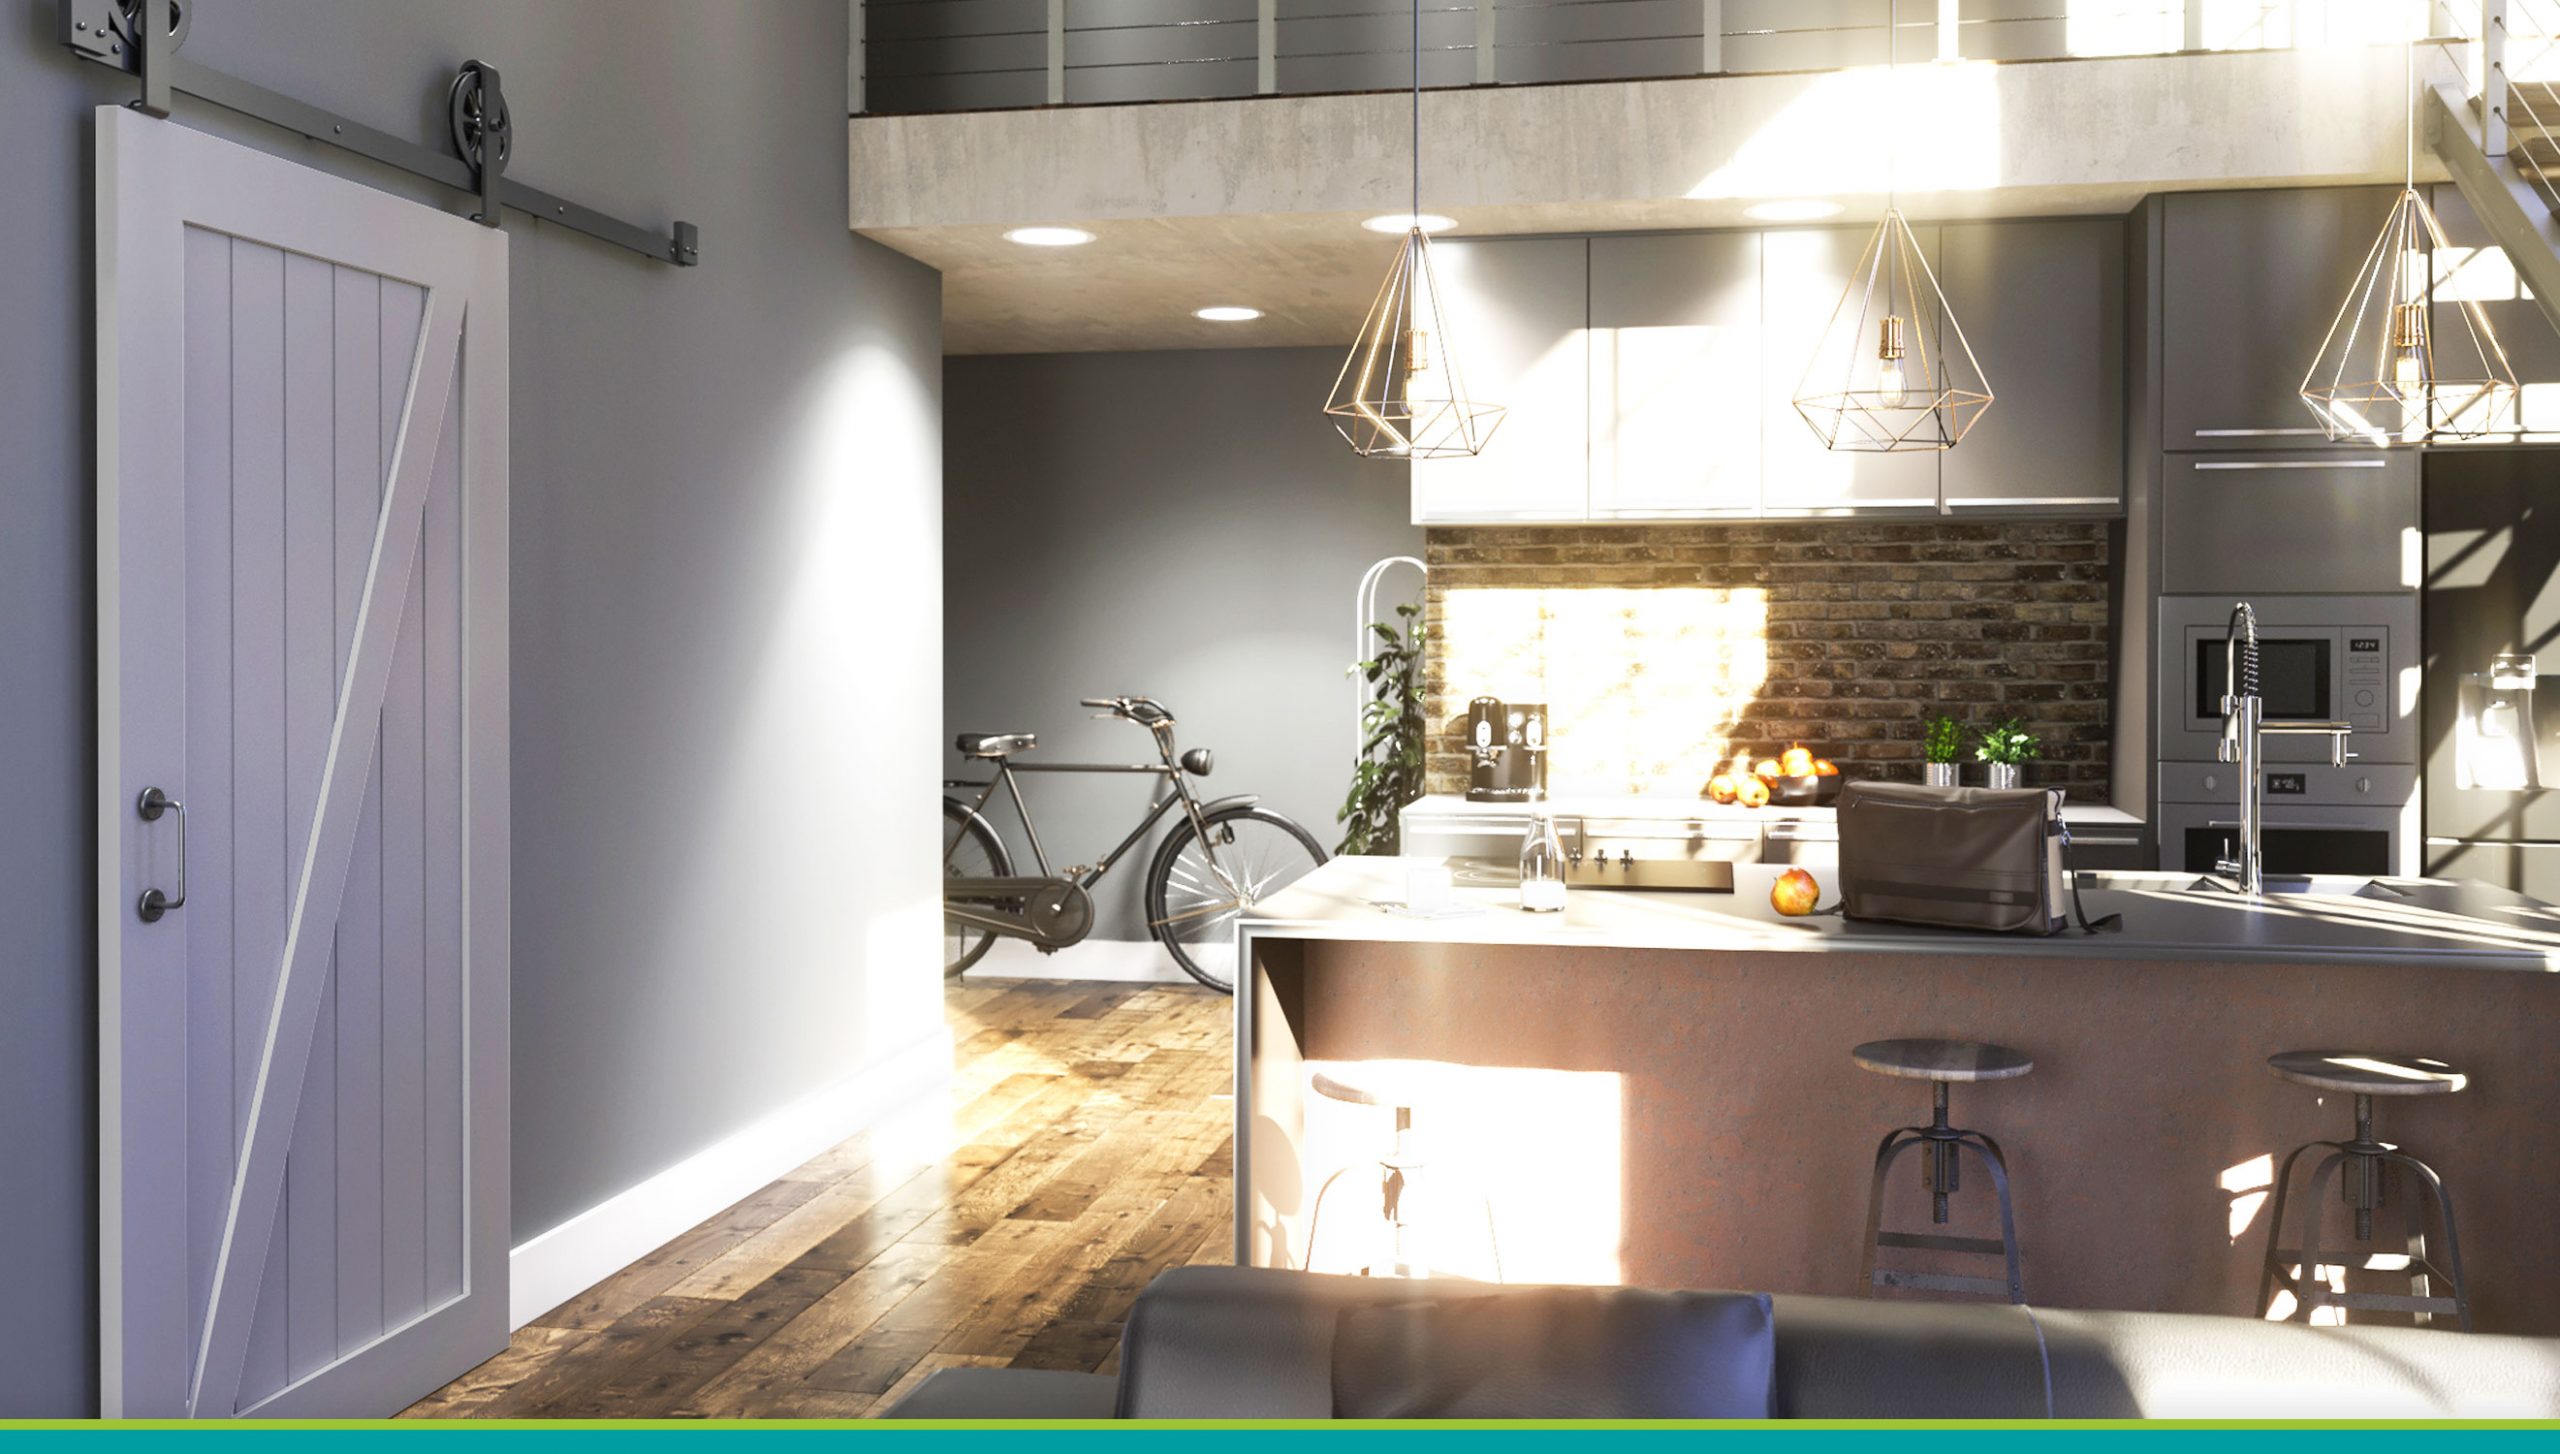
You’ve just bought your gorgeous new barn door and brought it home. You get ready to install it and realize it’s nothing like the doors you are used to! If you have found yourself in this position, we will show you how to install a barn door the right way.
Steps to install a barn door the right way
Step 1: Materials Prep
If you want to know how to install a barn door the right way, here is the first step.
Barn doors are durable and heavy. The track system that allows the door to slide open will need to be mounted on a backer board for added security. The backer board creates the necessary 1” gap between the barn door and the wall while also securing the weight of the door.
A 1”x4” board that is the same length as the door’s track should do the trick. First, paint the backer board the same color as the trim in your home, or the same color as your wall if you’d like it to be less noticeable.
Step 2: Door Prep
If your barn door comes with hardware installed, skip to step 3. Otherwise, you will need to install the door’s handles, rollers and anti-jump disks.
You will definitely want to follow the manufacturer’s instructions for installing hardware as each product is unique. Here are some things to keep in mind:
- The center of the handle should be 36” from the bottom of the door and a couple of inches from the edge of the door.
- When marking the location of the rollers, make sure you put the track between the wheel of the roller and the top of the door for an accurate placement.
- Leave some space between the door rollers and the track so it opens with ease.
Step 3: Locate and Mark the Studs
While waiting for your paint to dry, locate the studs above the door frame that will allow you to securely anchor the backer board.
You will want to look 3”-4” above the door opening for the studs to account for the height of the rollers. Make sure you measure the distance between the top of the door and the rollers to get an accurate measurement! Be sure to clearly mark their location with a pencil.
It is essential to measure your specific hardware to ensure a good fit! The location of the board should account for the height of the door, including the necessary ½” gaps between the door and the backer board and the bottom of the door and the floor.
Check the instructions sent to you for the height and floor clearance required for your specific door.
Once the paint on the backer board is dry, transfer the stud locations to the corresponding locations on the board.
Step 4: Mounting the board
After you have marked the stud locations and checked them twice, you can confidently mount the backer board!
Use a level to ensure that the backer board is as straight as possible. Attach one end of the board using wood screws, re-check the level, and then attach the remaining screws.
If you’d like to hide the screws, cover them with wood filler and then touch up the marks with paint. Though not key to install a barn door, this detail work will make the finished product look more professional.
Step 5: Mounting the track
Find a track that comes with pre-drilled holes for the most seamless installation and polished look. Bust out your level; this step is ultra important to ensuring a level door!
Once you have double checked that the track is level on the backing board (which you have already made level, right?), install the track to the backing board.
Don’t forget to install stoppers on each end of the metal track! These keep the door from running off the track.
They should simply slide on the end of each rack. Tighten them and marvel in the fact that you’re one step closer to installing that barn door!
Step 6: Hang that barn door!
It’s not quite as exciting as a barn raising, but this is the point where you can tell you’ve really made progress!
You’re track is securely attached to the wall, the rollers are attached to the door and now all you need is a friend to help you hang the door!
Lift the door so that the rollers are just above the track. Lower the door slowly onto the track to ensure alignment. Gently slide the door back and forth to make sure it has made full contact and that it rolls smoothly.
Step 7: Installing the door guides
The door guides job is to keep the door from wobbling back and forth. These are installed on the floor after the door has been hung.
When you are confident that the door is hanging straight, place the guide on the floor according to manufacturer instructions. Mark the screw locations, check them twice, and then screw the guides into place.
Step 8: Maintain your barn door
If you occasionally clean your barn door, you will keep it looking nice for years to come!
Using a diluted soap solution and a sponge, gently wipe the areas that get touched the most. This should keep grubby fingers from leaving a mark! Thoroughly dry the door to prevent moisture related damage and drip marks.


I am leaving on the door casing all around door opening. Will a 1×4 header board as well as the included spacers create enough room in between door and the case molding when opening and closing?
Also, if by chance the studs align perfectly with the holes in the bracket, would I still need to use the header board?
I bought your door from Home Depot and it says the floor guide is “ optional “……why optional?
Thanks!
Hello Steve, thanks for choosing EightDoors!
Even with the studs perfectly align with the holes in the bracket we recommend installing a header board to carry the weight of the door. Our barn door hardware kit came with a floor guide to be installed externaly so it is not necessary to carve a groove at the bottom rail.
Thanks!
I think a more important question is what if the studs do not align with the predilled holes in the track. the header board will have to be secured to the studs. But will mounting the track only to the header board thru the spacers be strong enough to carry the weight of the door. Ideally, the predrilled holes in the track align perfectly with the studs when in the correct position. But that seems like a longshot. Thanks, Jim
I purchased the z style barn door. Is it possible to remove the diagonal board on one side so that I may insert a mirror? If yes, what is the easiest way to remove?
Hello, Cindy! Thanks for choosing EightDoors!
Please send us an email to doors@eightdoors.com. so our customer service team can help you with your questions!
EightDoors
Hello, so I find that my pre-drilled railing at 16” center do match up to studs..mounting the header not a problem. What is used to mount railing to header. My kit came with 4” lag bolts, for studs, but that won’t work.
Thanks
Hello Charlie,
Thanks for choosing EightDoors!
You should be able to secure the rail to the header board and to the wall using the lag bolts provided, as described in our hardware installation instructions. Please send us an email to doors@eightdoors.com and tell us more so we can help you with your install.
Best regards,
EightDoors Team
Can you trim off the bottom of the door if it is to long?
Needs like 1” to 1.5 took off
Hello, Willard,
Thanks for choosing EightDoors!
You can trim 1-in. from the door bottom. Just keep in mind that by trimming the bottom you will eliminate the groove for the floor guide. You won’t be able to cut a new one, and will then need to mount the floor guide from the front side of the door instead of reaching into the bottom. If you need more information, please send us an email to doors@eightdoors.com.
Best regards,
EightDoors Team
The predrilled holes in my trackbar at at 17 11/16″ centers (not sure why). Studs are at 16″ centers. If I use lag bolts through the 1×4 backer board and into the drywall, they will miss the studs. Is this enough to support the door?
Hello, Walt,
Thanks for choosing EightDoors!
We advise you to not install the track directly onto the drywall. Install a 1” x 4” or 1” x 6” header board above the door opening directly
into the studs. The header board must be solid wood and measure at least the full length of the track or longer. With the header board in place, you may then safely drill holes for and fasten the track to it. The video on the following link explains in detail how to install a header board: https://www.youtube.com/watch?v=bDxSLT64kWY. Feel free to send us a message at doors@eightdoors.com if you need help with anything.
Kind regards,
EightDoors Team
Still waiting for my refund over a month what gives
Hello, Steve,
Thanks for choosing EightDoors!
Please send us a message at doors@eightdoors.com if you need help with anything. Our team will be happy to assist!
Kind regards,
EightDoors Team
Leave a comment