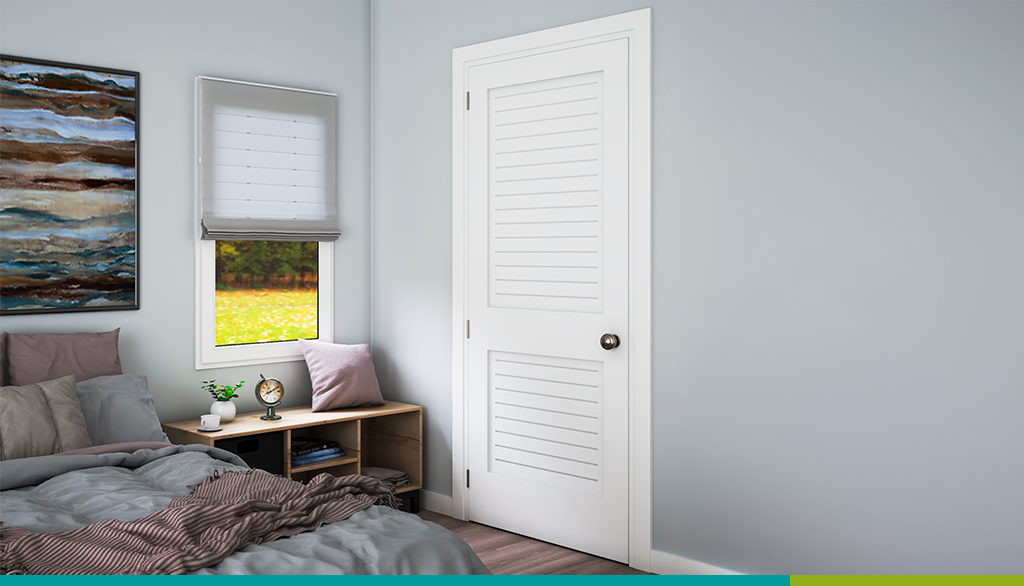
Even the sturdiest colored doors need a little TLC sometimes! Or maybe you just want to liven up your living space with a different color? Whatever your motivation, we want to support you in renovating a door that is already painted. Use the following guide to liven up your painted wooden doors!
If you just need to touch up your colored door, skip to step number four.
Materials:
- Electric sander
- Coarse sandpaper (40 grit)
- Fine sandpaper (180 grit)
- Primer
- Angle trim paint brush
- Small paint brush for touch ups
- Paint tray with liner
- Roller kit
- Drop cloth
- Painters tape
- Semi-gloss paint
1 Sanding
Before you can transform your colored door with your new favorite color, you will need to completely remove the old color! The best way to do this is by sanding off the existing paint. Use a rough sandpaper like 40 grit to remove the old paint.
To ensure you get the paint out of any grooves, do some detail work by hand. A sanding sponge may be useful to you at this stage.
If you discover any deep scratches in your wooden door while your sand, fill the dents with wood filler. Once the wood filler dries, use a piece of fine sandpaper to make sure the wood filler is flush with the door.
Remember to wear a respirator or n-95 mask when you are sanding to protect your lungs!
To prepare for the next step, use a clean, damp cloth to remove any sawdust on the surface of the door.
2 Prime time
Once your door is smooth, clean and dry, you can begin to prime it! Primer improves paint adhesion and makes for a more uniform backdrop for your favorite color. It also helps prevent moisture from entering the door, which increases the longevity of your product!
First, lay down a drop cloth under your work surface to protect your floor. You can paint the door on or off its hinges; it’s completely up to you. Do whatever makes the most sense in your home!
Either remove hardware or use painter’s tape to protect it from primer and paint.
Our Barn Door Z Grey has a lot of gorgeous grooves. It is best to use a small paintbrush here before rolling to get into all of its nooks and crannies.
Once you’ve done the detail work, use a roller to avoid brush marks on the rest of the door. For the best end result, you will want to apply a 2-3 coats of primer to your door. Make sure the primer is completely dry before painting the next coat!
If you are really hardcore, you can use fine sandpaper between each coat of primer for the smoothest possible paint job. It’s okay if you skip this step, we won’t tell anyone.
3 A Splash of Color!
Like most home improvement projects, the preparation takes longer than the task at hand! Now that your door is sanded and primed, you are FINALLY ready to transform your door with some paint!
Give your paint a vigorous stir before pouring any into your paint tray to evenly distribute the pigment. Start by painting the grooved sections of the door first.
Once you have done the detail work, use a foam roller to paint the rest of the door. Roll the paint on in thin, even layers to prevent dripping.
Let the first layer dry. You can wrap your brushes in plastic to prevent them from drying out while you wait! Apply your second and final coat to the door.
Lastly, step back and admire your hard work!
You will want to let the paint dry overnight before using the door again.
4 Touch ups
If your door only has a couple of small places that could use new paint, there is no need to repaint the entire door!
The hardest part of touching up a colored door is making sure you find an exact color match of the original paint. Bring home several paint swatches before committing to a color.
Gently sand (by hand) around the area that needs to be repainted to make for an even work surface. Using a slightly damp cloth, wipe away any sawdust and debris.
Next, use a small paint brush to coat the area in a thin, even layer of paint. Once the first coat has dried, apply a second coat for full coverage.


